

How to Inspect a Used
Car Interior for Hidden Problems
The fresh paint and shiny exterior of a used car can easily capture your attention, but the true story of its past often lies within the cabin. The interior is where you will spend all your time, and it can reveal hidden problems that a quick glance might miss. Neglecting a thorough interior inspection can lead to discovering unpleasant odors, broken features, or signs of serious damage like flooding after your purchase. Taking just a few extra minutes to look beyond the surface can save you from future headaches and unexpected expenses. A careful evaluation of the seats, dashboard, electronics, and even the trunk provides valuable clues about how the vehicle was maintained by its previous owner. This guide will walk you through exactly what to look for, helping you make a more informed and confident decision before you even schedule a test drive.
A vehicle's interior condition is a direct reflection of its history and care. While some wear and tear is normal, significant issues can be costly to fix and may point to larger, underlying problems. By using your senses of sight, smell, and touch, you can become a detective, uncovering evidence of everything from water damage to electrical gremlins. Follow this detailed checklist to systematically inspect every corner of the cabin and ensure the used car you are considering is as good on the inside as it looks on the out.
Your Comprehensive Guide to Used Car Interior Inspection
When you are exploring our used inventory, the interior of a vehicle is your command center. It needs to be comfortable, functional, and free of any major flaws. A pristine interior often indicates a meticulous previous owner, which is a good sign for the vehicle's overall mechanical health. This step-by-step guide will empower you to inspect any used car interior like a seasoned professional.
Step 1: The Initial Sniff Test
Before you even sit down, open the door and take a deep breath. Your sense of smell can be your most powerful tool in detecting deal-breakers. A clean, neutral smell is ideal. Be wary of any strong odors, as they can indicate persistent problems.
- Heavy Air Fresheners: An overwhelming scent of pine, vanilla, or citrus might not be just for freshness. It is often used to mask underlying odors like cigarette smoke, pet smells, or mildew.
- Musty or Mildew Smells: This is a major red flag. A moldy, damp smell strongly suggests a water leak or, in the worst-case scenario, that the vehicle may have been in a flood. Learning how to spot a flood damaged car is a critical skill.
- Cigarette Smoke: The smell of stale tobacco is notoriously difficult to remove from upholstery and headliners. If you are a non-smoker, this smell will likely be a permanent annoyance.
- Chemical Odors: A strong chemical smell could be from a recent deep cleaning, but it could also signal other issues. Trust your instincts; if something smells off, investigate further.
Step 2: Scrutinize the Upholstery and Surfaces
Now it is time for a detailed visual and tactile inspection of all the surfaces inside the car. Do not just glance; look closely and run your hands over the materials.
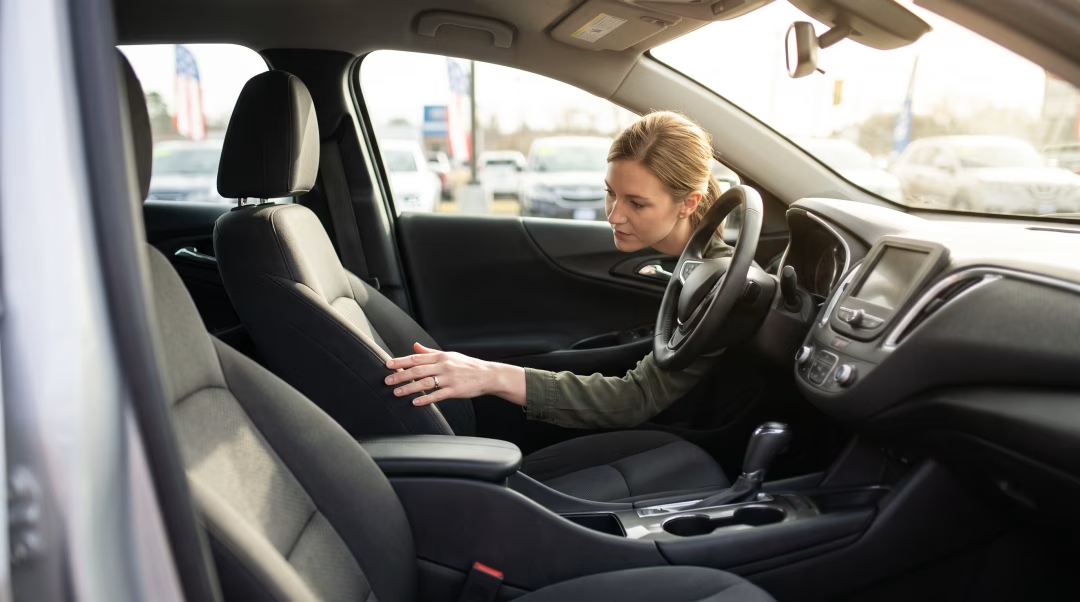
Seats: Check every seat, not just the driver's. Look for rips, tears, burns, and deep stains. On leather seats, check for significant cracking or splitting seams. A worn driver's seat is normal, but excessive wear might suggest very high mileage that does not match the odometer. Pull down the center armrests and check them, too.
Carpet and Floor Mats: Always lift the floor mats. This is a common hiding place for major stains or damage. Check the carpet underneath for dampness, which could indicate a water leak from a bad door seal, a leaky heater core, or previous flood damage. Feel the carpet padding underneath if you can; if it is wet or brittle, walk away.
Headliner: Look up. The fabric on the ceiling, known as the headliner, should be clean and firmly attached. A sagging or drooping headliner indicates the glue has failed, which is a common issue in older cars but can be costly to repair. Water stains on the headliner, especially around the sunroof or windows, point to active leaks.
Door Panels and Dashboard: Examine the plastic and vinyl surfaces for deep scratches, cracks, or sun damage. Pay close attention to high-touch areas like armrests, window switches, and door handles. A sticky or gummy dashboard can be a sign of material degradation from heat and sun exposure over many years.
Step 3: Test Every Button, Knob, and Switch
This is a crucial part of the inspection that many people skip. Do not assume everything works. Turn the key to the "on" position (without starting the engine) to power up the electronics and start testing. This is a vital part of any pre-purchase checklist, just as important as the checks you perform during a used car test drive.
- Climate Control: Turn on the air conditioning and heat. Does the A/C blow cold and the heat blow hot? Do they respond quickly? Test all fan speeds and vent settings (defrost, floor, face).
- Windows and Locks: Operate every power window from both the driver's master switch and the individual door switch. Do the same for power door locks. Check the child safety locks on the rear doors.
- Audio and Infotainment: Turn on the radio. Test the volume, tuning, and balance controls. If there is a touchscreen, press every menu icon to ensure it is responsive. Test the speakers for any crackling or distortion. Connect your phone to test Bluetooth, USB, and auxiliary ports.
- Lights and Wipers: Test the headlights (high and low beams), turn signals, hazard lights, and interior dome lights. Run the windshield wipers on all speed settings and test the washer fluid spray.
- Other Features: If the car has them, test the sunroof, power mirrors, heated seats, and any other adjustable features.
Step 4: Inspect Safety Components and Storage
Safety should always be a top priority. Take a moment to verify the condition of the vehicle's key safety systems.
Seatbelts: Pull out every seatbelt completely and inspect the webbing for any frays, cuts, or discoloration. Buckle and unbuckle each one to make sure the mechanism engages and releases smoothly. Give them a sharp tug to ensure the locking mechanism works.
Airbags: Check the dashboard warning lights when you first turn the key on. The airbag light (often showing a person with a circle) should illuminate briefly and then turn off. If it stays on, stays off, or blinks, there is a fault in the system. Also, check the airbag covers on the steering wheel and dashboard for any signs of being tampered with or poorly replaced, which could indicate a past accident.
Trunk: Open the trunk and lift the carpet or floor panel. Look for any signs of rust, water pooling, or mismatched paint, which could suggest a rear-end collision repair. Check for the presence of a spare tire, jack, and lug wrench. If the spare is missing or in poor condition, that is a point for negotiation. Finding the right vehicle is a big step, and understanding your options in our financing area can help you prepare for the purchase.
What is the most common hidden problem found in a used car interior?
One of the most common and telling hidden problems is evidence of water leaks. This often manifests as damp carpets (especially under the floor mats), a musty smell, or faint water stains on the headliner near windows or the sunroof. Water damage can lead to mold growth and serious electrical issues, making it a critical item to check.
How can I tell if a car was owned by a heavy smoker?
The smell is the biggest giveaway, but dealers often use strong cleaners to mask it. Look for physical evidence. Check the headliner above the driver's window for a yellowish-brown film. Also, inspect the ashtray, lighter, and small crevices in the center console for ash residue. Sometimes, small burn marks on the upholstery or carpet are also visible.
Are cracks on the dashboard a major concern?
While often cosmetic, dashboard cracks can sometimes indicate a car has spent its entire life in harsh, direct sun without protection, which can also affect other plastic and rubber components. In some cases, cracks near the passenger airbag can be a more serious issue, potentially interfering with its deployment. It is mostly an aesthetic issue but worth noting as a replacement can be expensive.
What does a sagging headliner signify?
A sagging headliner is caused by the deterioration of the foam backing and the failure of the adhesive that holds the fabric to the roof panel. It is a very common issue in vehicles over 10 years old, especially in hot climates. While it does not affect the car's mechanical function, it is an eyesore and can cost several hundred dollars to have professionally repaired.
Why is it important to test every single electronic feature?
Electrical problems, often called gremlins, can be notoriously difficult and expensive to diagnose and fix. A single non-working power window could be a simple switch replacement or a complex wiring issue within the door. Testing every button, from the radio to the heated seats, helps you identify these potential costs upfront and build a complete picture of the vehicle's condition.
